"Ollas are very simple to use — here are a few tips to help you set up your olla as best as possible."
Plant it in the soil
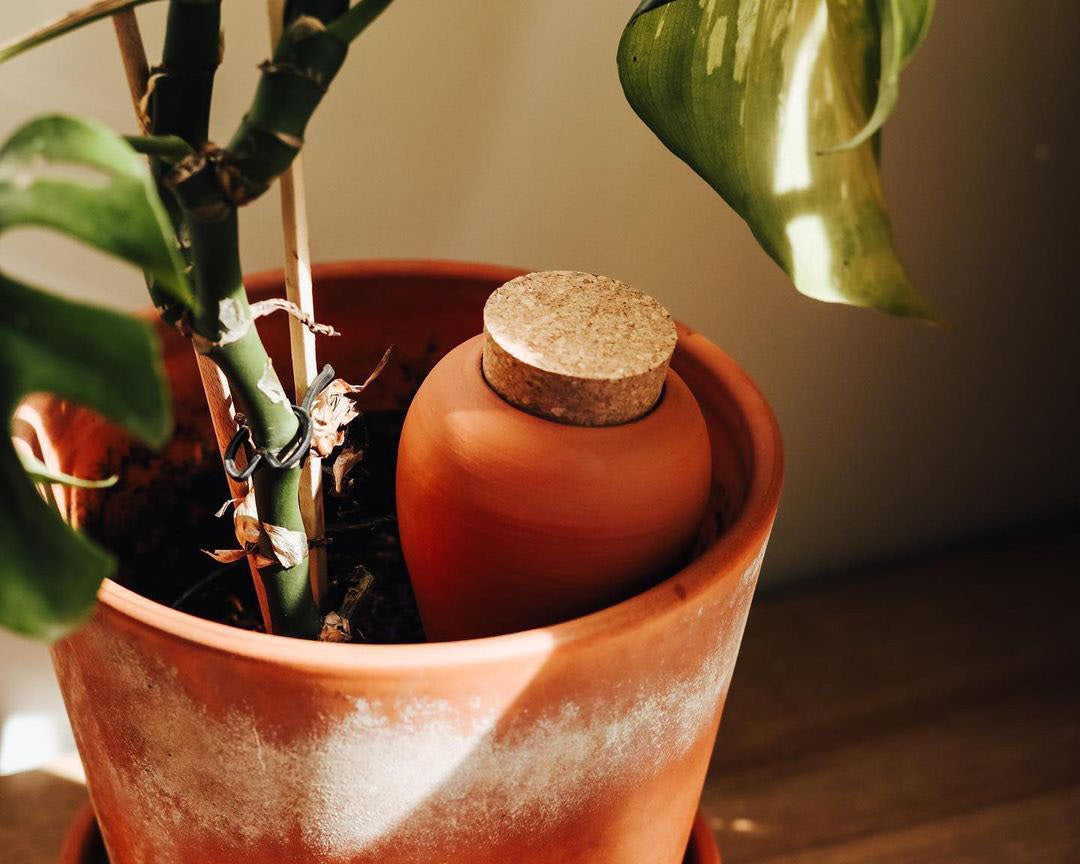
Make a small hole in the soil of your houseplant or balcony planter. Push the olla in, leaving the glazed upper part visible. Make sure the buried part is in good contact with the soil. Your plants' roots will naturally grow towards the olla to draw the water they need.
Tip: If you have several plants in the same container, try to centre the olla to make it easier for the roots.
Fill with water
Fill the olla with water and replace the cork stopper to prevent evaporation. Check the water level regularly and wait until the olla is completely empty before refilling it. Depending on the plant and its exposure, the time between refills can vary from a few days to a week.
Tip: For a new plant or when repotting, don't hesitate to water the soil directly for the first few days to encourage rooting around the olla.
Let it happen...
Over time, the plant will establish its roots around the olla to draw the water it needs, ensuring healthy growth and thriving plants effortlessly. The amount of water used for watering is reduced, and you'll avoid any water stress for your favourite plant.
Tip: We recommend adding your liquid fertilisers, compost teas or bokashi juice outside the olla to avoid clogging the clay pores.
"Care tips for ollas"
"Ollas or oyas require virtually no maintenance. However, if you live in an area where the water is very hard, you can clean them from time to time with a sponge and a little diluted white vinegar, or use rainwater, which will be better for both your plants and your ollas. If you place your Pepin olla in a balcony planter or an outdoor pot, we do recommend bringing it inside in the event of hard frost to avoid damaging it."


